strategy - Builds - Guides
Dominate your world
Build IntroHello and welcome, it’s your friendly neighbourhood amphibian. After the recent rework of Spiked Shield you no longer need an extremely min-maxed, high-end build with tons of ward to have a decent damage with the SS skill family. In this guide I’ll try to focus on the performance of SS1 in 3 different scenarios: 1. Entry-level Gilgamesh (around 100-120k ward) 2. Mid-game Gilgamesh (around 120-180k ward) 3. Endgame Gilgamesh (above 180k ward) Keep in mind, this build is not built around pumping extremely huge numbers, it performs well in all raids, has really high survivability and not a lot of key pressing. The rotation is pretty much based on 1 skill and 1 temp buff. Gear Firstly, I’ll list out all the decent ward gear you should be looking out for. We won’t be focusing on 2-handed weapons since we’re mostly looking for ward and the best way to achieve it is to get a good 1-handed weapon and a shield. I’ll also note which items are obtainable only during certain events throughout the year, the rest are mostly farmable through dungeons and kingdom or world raids. With that said, the damage is nothing to scoff at Head
Body
Legs
Off-hand
Weapons
Accessory
You could also equip other accessories that protect you from status effects but with Gilga’s Steadfast passive you’re better off equipping something to boost your ward Adornments
Pets There are quite a few options, I’ll mostly focus on 2 types. Defensive - ward regen + turns: Gorynych, Son of Mountains Living Arch-Armor Ortanite Golem Fey Yeti Steward Golem Offensive - buffs: Ashen Phoenix - Deific Channel (with enough action rate it also keeps up the ward turns) (Fey) Chimera - Berserk 1 buff Apollyon's Apprentice - Elemental alignments, also some hp regen and ward turns Very Scary Skeleton - Wallop for T.Def↓↓ Phoenix - Deific Channel Please remember that for some of those pets you need a higher action rate to make full use of their buffs. You can achieve that by equipping a Freyja Charm as one of your accessories (and by that, sacrificing a little bit of your ward) or adorning your weapon using Blackened Eyes of Kerberos or Dark or Dark Eye of Kerberos. Amities Some of the best amities to look out for are: Increases (faction element) damage by 20% Your accessories will be 25% more effective Positive effects will last 50% longer You will recover 5% Ward each turn Specialization Cataphract is your best bet when raiding with Spiked Shield, the ward regen and huge hp boost is simply great for this build. Oracle could also be an option if you have two 5% ward regen amities. ShowcasesBuffing will look pretty much the same for all levels: Ward of Ortanite > Golem’s Fortitude > Barrier II > Divine Bastion II > Wyvern Speed II > Bear’s Might > Faction Affinity Then you can also add Prism wall if you’re using Cataphract and Gunnr if you’re sure you’re not going against hard raids like Morrigan Using Berserk Mushrooms from Arena is also good if you have a lot of them and you have Ruby or Ashen Ruby in your weapon Remember to keep Osmostrike/Osmostrikes in your loadout in case you don’t get a lot of Ruby procs. Adding Omnistrike/Omnistrikes or Exploit for debuffs is also advised. If you’re not using a weapon with a lot of pet action rate with Ashen Phoenix then you also must put Deific Channel in your loadout. Be sure to check out all 3 of the different level showcases below most relevant to you! 1. Entry-level [Level 237 Gilgamesh without any ascensions - 117k Ward]
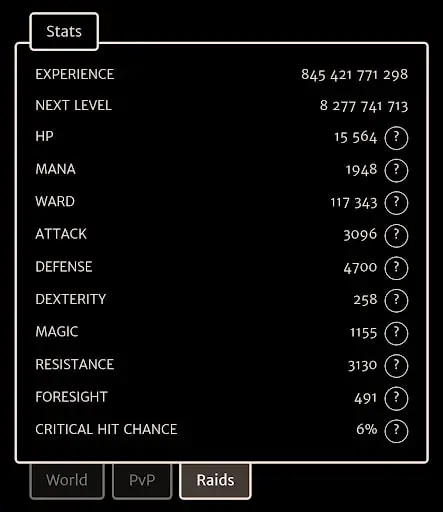 Big Forg SS showcase 1 stats 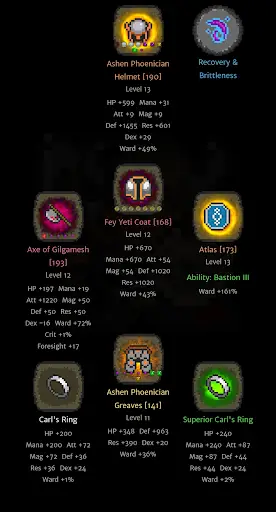 Big Forg SS showcase 1 gear 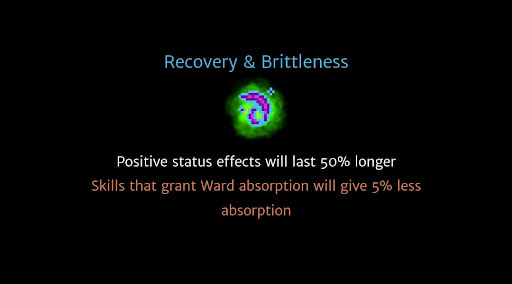 Big Forg SS showcase 1 amity 2. Mid-game Gilgamesh [Level 237 Gilgamesh without any ascensions - 145k Ward]
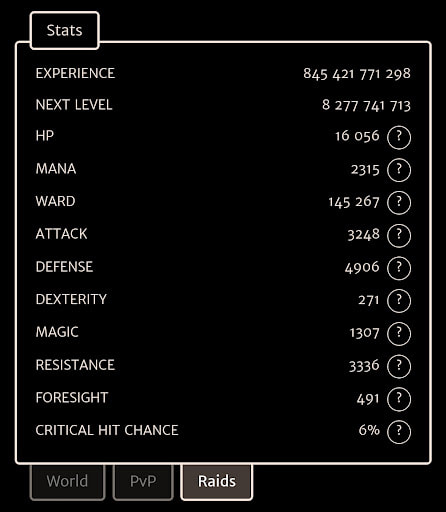 Big Forg SS showcase 2 stats  Big Forg SS showcase 2 gear 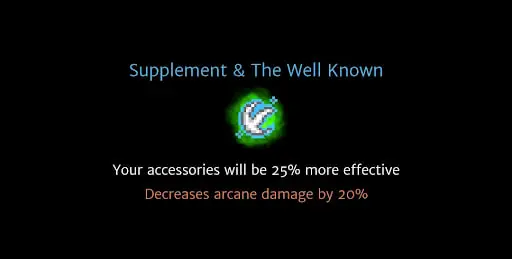 Big Forg SS showcase 2 amity 3. End-game Gilgamesh [Level 250 Gilgamesh, Ascension level 41 - 259k Ward]
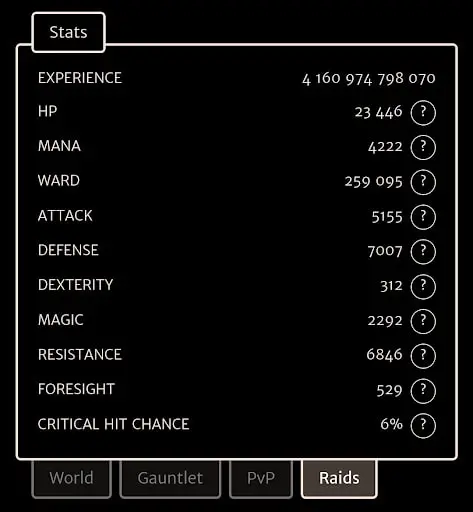 Big Forg SS showcase 3 stats 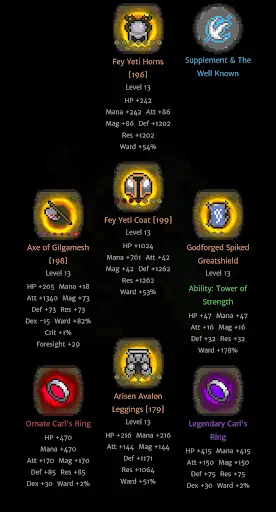 Big Forg SS showcase 3 gear 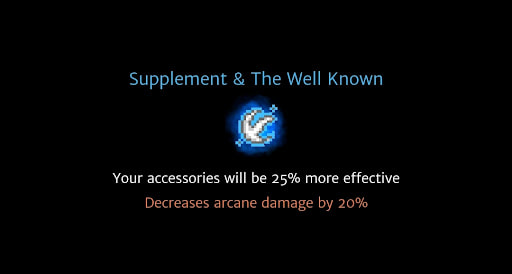 Big Forg SS showcase 3 amity
0 Comments
Leave a Reply. |
AuthorShabbash has been playing Orna since the summer of 2019, reaching max level 250 a year later, and has a vast plethora of experience within the game. After completing and surviving the grind, Shabbash now turns his attention to creating the best guide resources for players to improve their enjoyment of what Orna has to offer. Categories
All

Orna EventsNext event:
Orna Champions III Live PvP Tournament Win the "Fallen Champion" in-game title! Begins 13th March 2023 |

 RSS Feed


